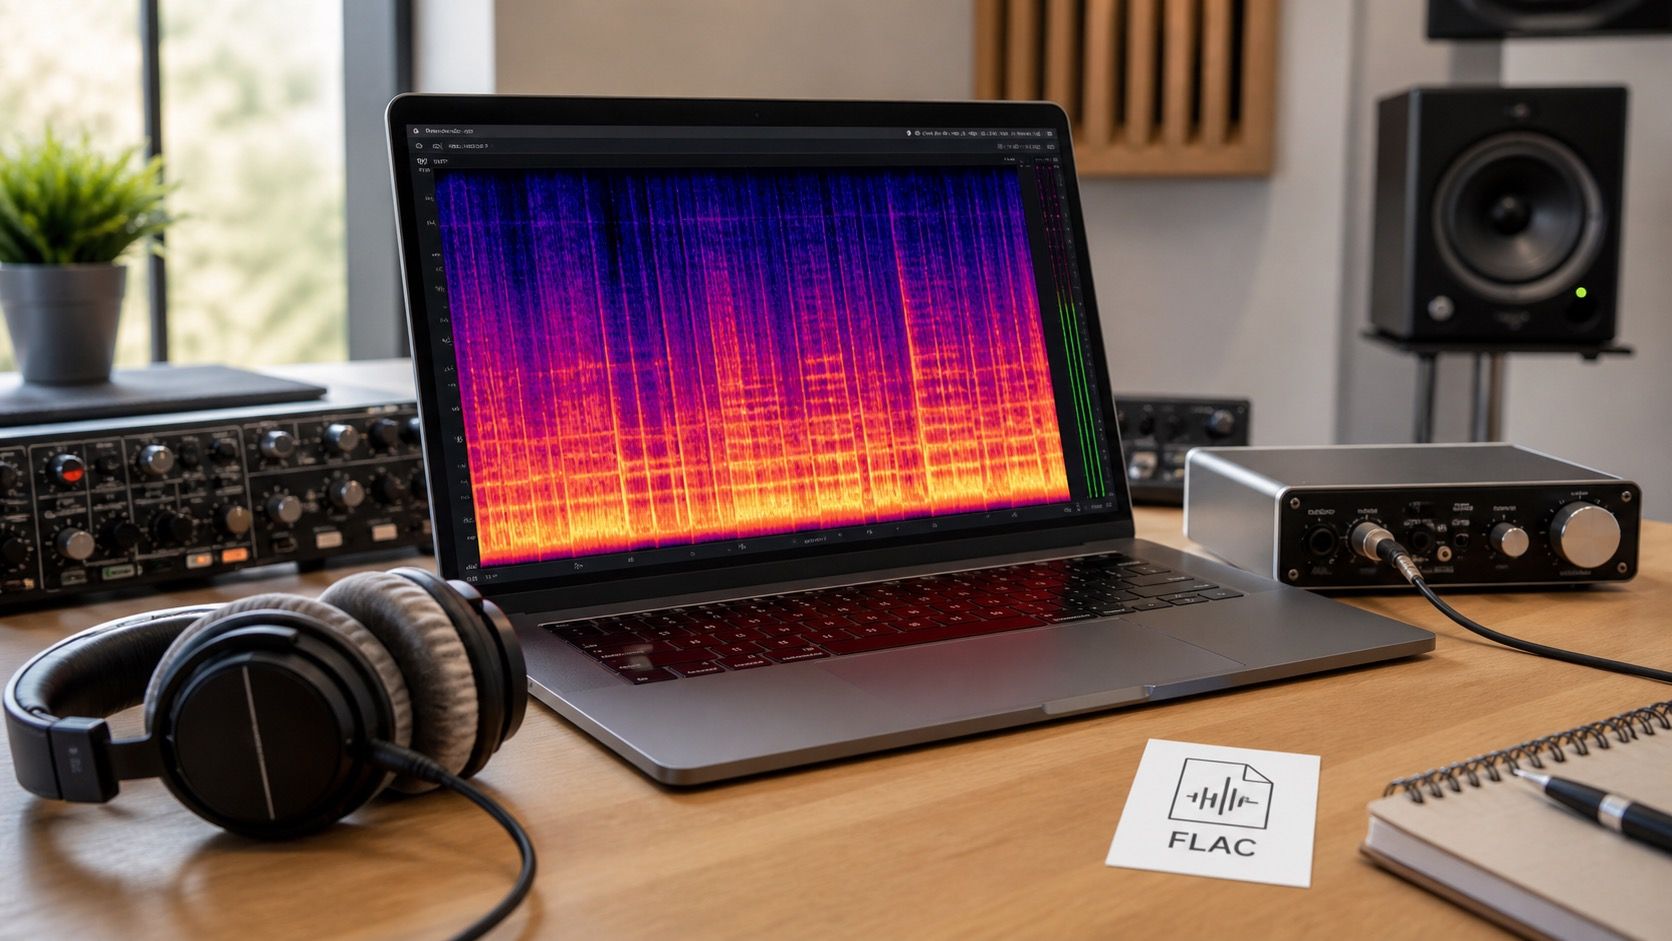
A good AI music artifact removal workflow is less about throwing every cleaner at the file and more about protecting the musical take while you remove the few problems that would distract a listener on a real release.
Save the best source before processing
The workflow starts before repair. Keep the best source export untouched, with a clear filename and the original format if possible. If you have several generations, do not pick only the loudest or most exciting one. Listen for stable vocals, fewer metallic tails, cleaner drum hits, and less smeared stereo movement. A slightly less dramatic version can become the better master because it gives the repair tools less damage to fight.
Work from a copy and mark every stage: source, cleanup, tone, master, delivery. This sounds fussy until you need to compare versions at midnight and cannot remember which file had the cleaner second verse. AI audio artifact removal often involves small decisions, and small decisions disappear when names are vague. A simple trail keeps you from mastering a worse repair by accident.
Before the first processor, reduce the file level if it is already close to full scale. Many AI exports are hot enough to make denoise, de-click, or spectral tools behave too strongly. A few dB of headroom is not a quality loss. It gives the chain room to hear the difference between a vocal transient and a harsh artifact.
Fix obvious noise before tonal shaping
Remove obvious non-musical faults before EQ or mastering. Clicks, digital chirps, short bursts of static, and isolated vocal glitches are easier to handle while the file is still close to the source. If you brighten or compress first, those faults become more confident. Then the cleanup tool has to remove a louder, sharper, more embedded version of the same problem.
Use focused repair instead of broad processing when the fault is local. A click in one snare fill does not need a full-song denoise pass. A metallic ring on one held vocal note may need a small spectral repair, not a darker master. The more of the song you process, the more musical detail you risk. The goal is to remove the distraction and leave the performance breathing.
A suno artifact cleaner can be useful here, but do not treat the strongest setting as the professional setting. Strong repair may make the spectrogram cleaner while flattening consonants, cymbals, and room tone. Preview a short loop, switch back to the source, and ask a blunt question: did the irritation go away, or did the entire track just get softer?
Use spectral checks at the right moment
A spectrogram is best used as a second opinion, not a judge. After the first repair pass, look for persistent horizontal whistles, bright blocks around vocal sibilance, low-end clouds, or sudden vertical scratches that match what you heard. If the picture shows a mark you cannot hear, leave it alone. Chasing visible shapes can ruin a track faster than ignoring a tiny visual imperfection.
The useful pattern is listen, inspect, repair, then listen again. For example, if the chorus has a glassy layer above the vocal, first find the moment by ear. Then check whether the same band stays active between syllables. If it does, a narrow dynamic EQ or spectral attenuation may help. If the brightness only appears on natural consonants, a heavy repair pass may damage intelligibility.
Keep spectral checks short. Ten to twenty seconds around the worst section is enough for most decisions. Full-song visual inspection encourages overwork. AI generated tracks can contain strange but harmless textures, especially in pads and backing vocals. Repair the problems that survive listening, not every pattern that looks unusual.
Master after repair, not before
Mastering should happen after the cleanup workflow has stabilized the file. EQ, saturation, compression, and limiting all make artifacts more permanent. A limiter is especially unforgiving: it lifts quiet grit, pins harsh peaks, and can turn a small shimmer into part of the hook whether you wanted that or not. If the artifact bothers you in the premaster, it will usually bother you more after loudness.
Once the repair pass is done, make tonal moves carefully. If the track lost air, add only what the vocal and cymbals can tolerate. If the low end is muddy, clean the low mids before boosting bass. If the chorus lacks impact, check whether heavy denoise softened the transients. The best final master often comes from less processing earlier, not more excitement at the end.
Compare the repaired premaster and final master at matched loudness. The master should feel finished, not merely louder. If the final version brings back sibilance, pumping, or metallic texture, the limiter may be exposing a repair that was too light. Go back one stage. That is why the comparison trail matters.
Keep a clean comparison trail
A practical workflow is built around decisions you can reverse. Keep the source, first repair, tonal pass, and final master. Bounce short preview files when a section is risky. Write tiny notes in the filename or session marker: light de-ess, less shimmer, heavy cleaner failed, bass cloud fixed. These notes do not need to be elegant. They need to save you from repeating the same bad move.
| Stage | Main question | Common mistake |
|---|---|---|
| Source export | Is this the cleanest musical take? | Choosing the loudest version instead of the most stable one |
| Repair pass | Did the obvious artifact get quieter? | Using heavy cleanup across the whole song |
| Spectral check | Does the visible mark match an audible problem? | Fixing shapes that nobody hears |
| Final master | Did loudness preserve the repair? | Limiting before the artifact is controlled |
For delivery, export a clean master in the format you actually need, then keep a lossless copy for future changes. If the track is going to a video editor, distributor, or collaborator, do not send only a crushed preview MP3. A good AI music artifact removal workflow leaves you with a version that can survive one more conversion without revealing every repair scar.